
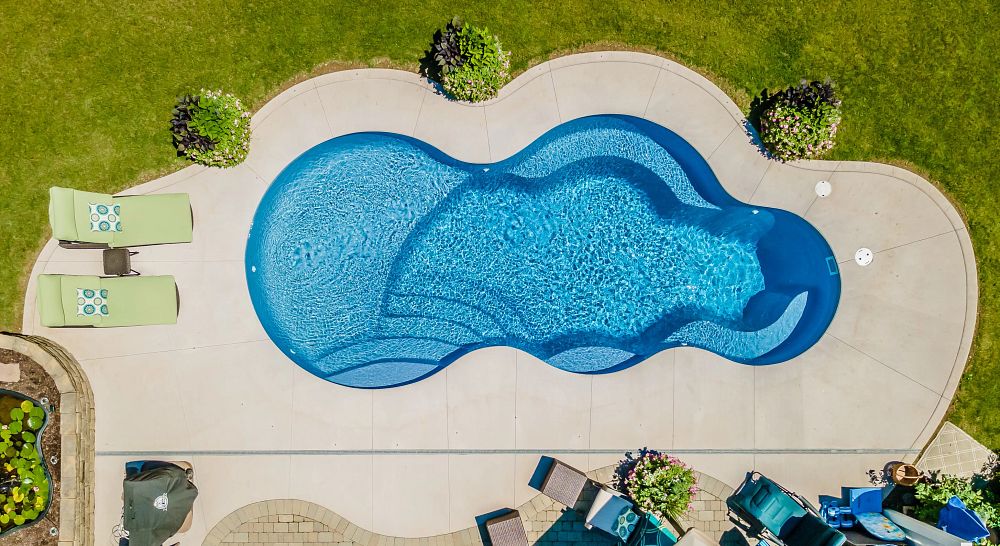
In-ground swimming pools will have a positive impact on your life and your family’s life. From parties to swimming laps, to cookouts, to relaxing nights, your pool will deliver an array of benefits. Unfortunately, there will be time, effort, and expense involved in completing the project, but the payoff will be worth it!
The process of building a fiberglass pool can be a fun and exciting event if you are prepared in advance for what all is going to take place. There are many steps that go into building a beautiful, professionally installed pool. Here, we’re going to give you an idea of how long each step takes, so you have a better sense of when your pool will be complete. Please keep in mind that backyard conditions, weather, or the number of workers can have an impact on the timing for the various steps to a finished pool project.
What To Expect When Installing A Fiberglass Pool
The excitement is mounting! You’ve just signed on the dotted line and are ready to break ground to begin the installation process for your brand new fiberglass pool. While you can expect many years of splashing and frolicking in your own backyard oasis in the very near future, there is going to be a period of “growing pains” in order to get your new pool properly installed.
We’re not going to sugar coat it: the fiberglass pool construction process will require heavy equipment, and your backyard will look like a construction site for a few weeks. But – deep breaths – this is only temporary! To prepare you for the road ahead, we’ll walk you through the steps involved to help give you a more accurate picture of what you can expect in terms of installation time. Trust us, a properly installed fiberglass pool is worth the wait and will give you years of enjoyment!
Step 1: Backyard Prep and Digging
All site prep starts with obtaining the proper permits, and identifying where utilities are located within the project area. Utilities can be buried or overhead. They might interfere with the project and will have to be marked for re-locating prior to any site work. Once you have permits and utilities out of the way, the site is prepared by first establishing the finish grade of the pool wall. Well before your application for a building permit, the excavation area is then prepared by outlining the pool dimensions with spray paint or using a pre-fabricated template that matches the pool design. This shouldn’t take more than a couple of hours at most, depending on the equipment. Once the elevation is set and the layout is marked, excavation can begin.
What you will see out your window
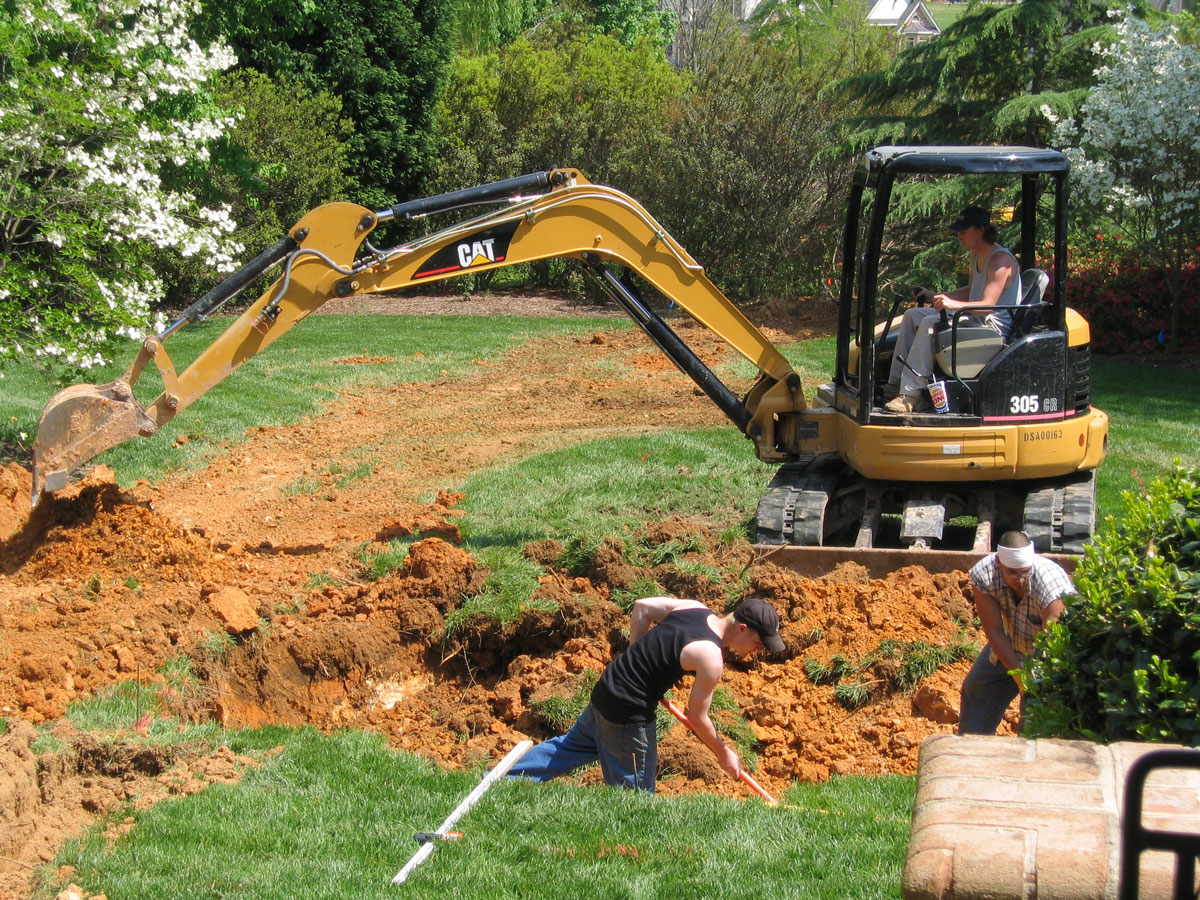
Step 2: Excavating and Setting
Before fiberglass pool construction begins, the first step is to hollow out a space in your backyard or side yard where the pool will be located. How much room you need for your pool excavation will be dependent on the design template, size, and shape of the fiberglass pool shell you choose.
Most of the digging will be done by an excavator, which will remove the vast majority of the dirt. Care is taken to follow the outline of the pool by only slightly digging beyond the dimensions of the pool by 8” to 12” for a “tight” fit. Once the digging is finished, it’s time to place the base material for your pool’s foundation into the hole that’s been excavated. You may be wondering, “What do you even put under a fiberglass pool?”
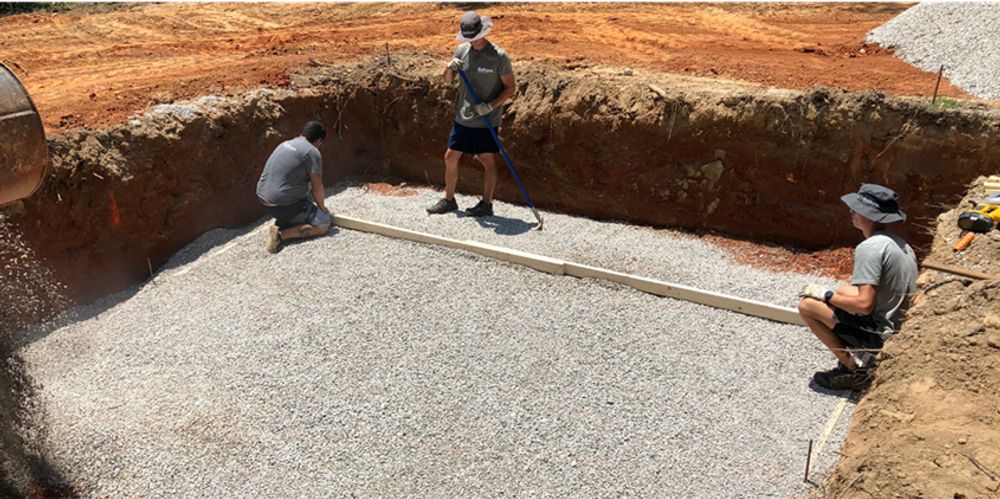
The foundation for an inground fiberglass pool generally consists of a two-inch base of gravel. The purpose of the foundation is to give your pool a firm, even, and stable surface to rest upon, minimizing the risk of settling, bulging, or leaking that could damage the pool and surrounding soil. The bottom of the excavated area is dug 4” deeper than necessary, to allow for sand or ½” gravel fill material to be added and a smooth area prepared for the pool bottom to rest.
The pool is then set by crane or other equipment using lifting straps to meet APSP/ANSI codes for level application. This may take the builder several attempts to prepare the bottom of the hole and lift and set the pool level. This is a normal procedure. Additionally, a sump line or a daylight drain is installed at the deep end of the pool to assist with balancing hydrostatic pressure, which is the pressure the water in a pool exerts on the walls and floor of the pool from the inside. From the start of the excavation, you can expect up to 3 days until your fiberglass pool is nestled into the excavation site. Some builders can do this process in 1 day while others, with different equipment, may take longer.
What you will see out your window

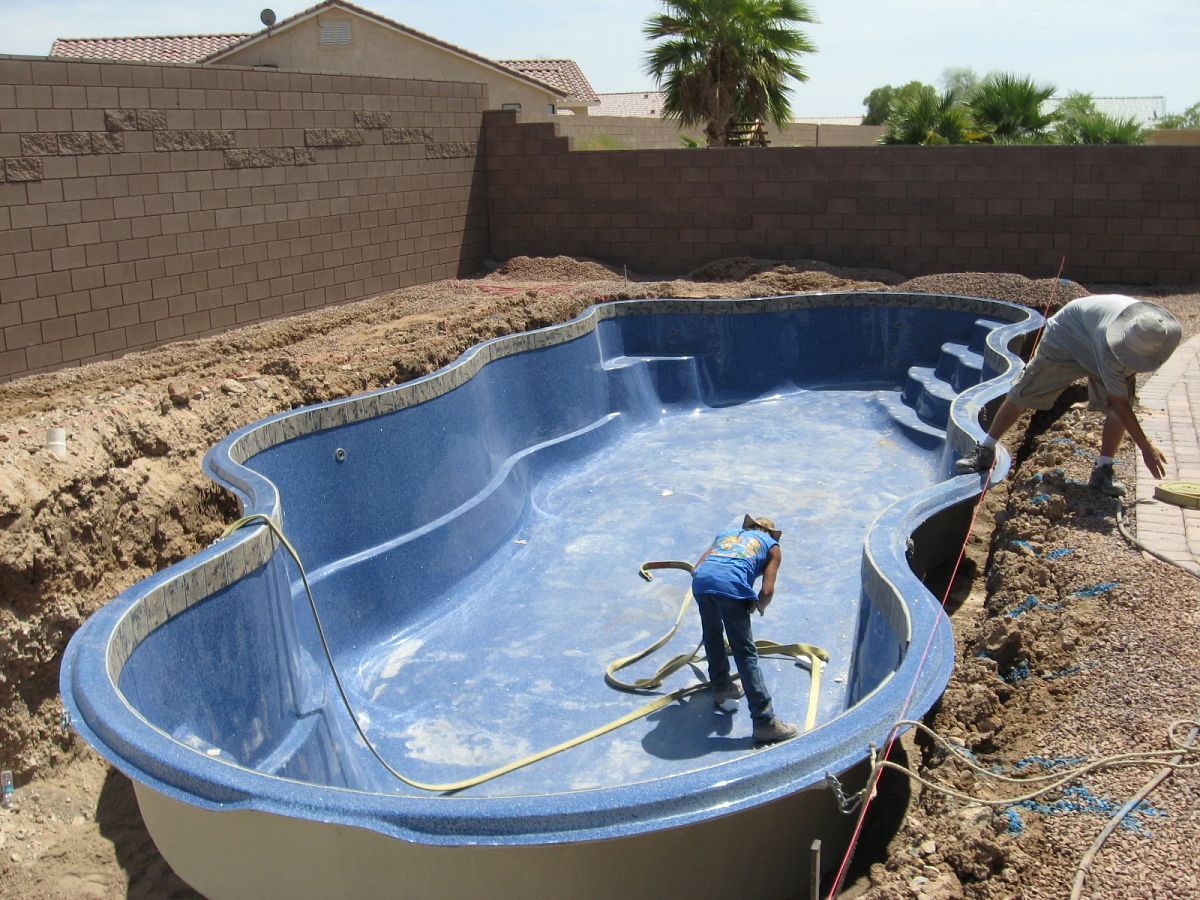
Step 3: Adding Water and Backfill
Once the pool is set level, the process of adding water and backfill begins. Backfilling is the process of filling the gap between the fiberglass pool shell and the excavated hole (also known as “locking in” the pool). This is also the stage when water is added to the pool, along with a drain pipe that helps to circulate water properly.
First, 6” of sand or 6” of ½” gravel is placed around the bottom radius of the pool. The pool is then filled with 6” of water. To ensure that pressure on the outer and inner walls of the pool remains equal throughout backfilling, your builder will alternate between locking in the pool with six inches of gravel, then filling the pool with six inches of water. Working with care and precision, your builder will continue to alternate between these procedures until backfilling and pool filling is complete.
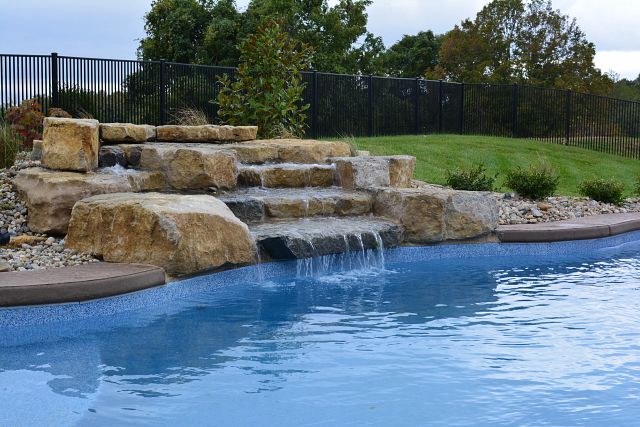
When the backfill and the water reach areas for plumbing fittings, the builder will attach PVC pipe to the fittings and pressure test the lines for leaks. This is also the time that the lights will be installed and other possible water features. If all is working, then the process of adding water and backfill continues until they are at the grade level for the deck placement. This entire process can take 1 to 4 days, depending on the builder.
What you will see out your window
Step 4: Plumbing and Electrical Installation
To stay fresh and clean, your fiberglass pool needs a plumbing system. This system features two main parts: a pool filter that removes small pieces of debris, and a pool pump that circulates water through the filtration system. Keep in mind that, even with filters, you will still need to periodically skim your pool with a net in order to remove larger debris items.
An equipment pad will be strategically located on the project site to hold the pump, filter, heater, electrical connections, and other options that may be part of the installation. As the plumbing lines and electrical lines have already been run in the previous steps, hooking up the pump, filter, heater, water features, and electrical lighting is a simple process. Depending on personnel and local inspection requirements, this part of the process averages 1 to 3 days.
What you will see out your window

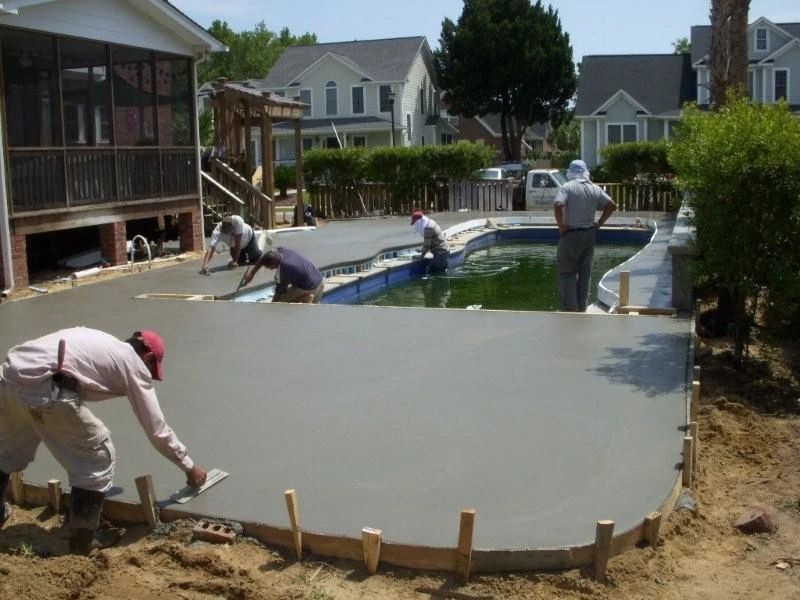
Step 5: Pouring Concrete and Finishing the Pool
Once the conditions are right to start pouring concrete, the deck of your pool area will begin taking shape. Setting up the forms, pouring the concrete, and letting it settle can take anywhere from 2-3 days, depending on the weather. While the concrete is curing, the construction team will clean up the site and make sure that your in-ground fiberglass pool and all equipment is operating properly.
What you will see out your window
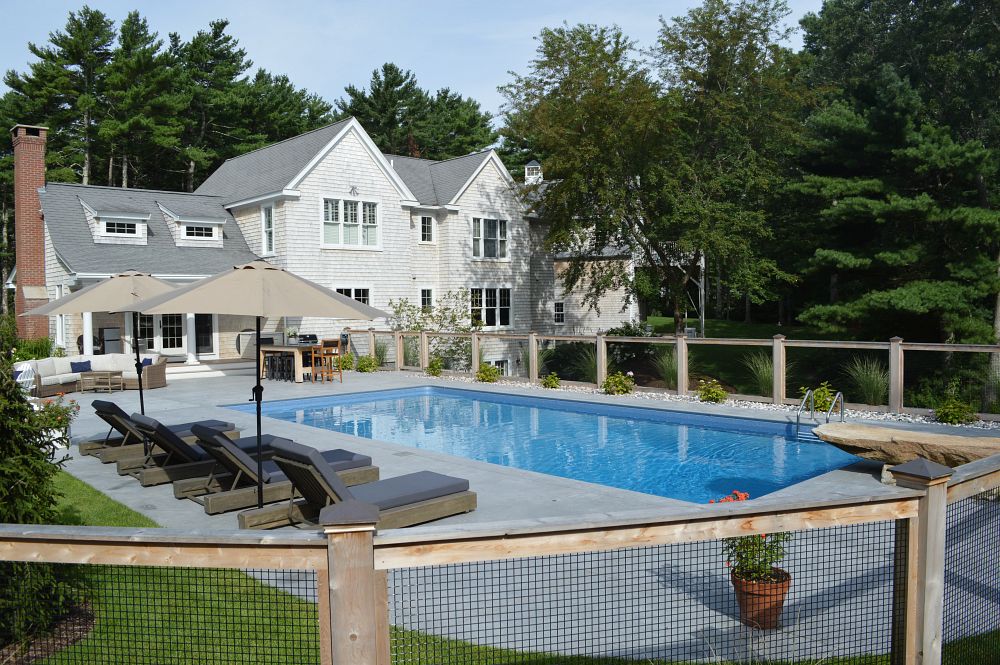
Step 6: Coping & Decking
“Coping” is the trim that borders the edge or lip of the pool, as the margins around the page of a book. Pool coping is both decorative and practical, giving your pool added visual flair while blocking water from spilling over the pool shell and leaking into the soil. It generally takes somewhere from around two to five days to finish building a pool deck and installing the coping.
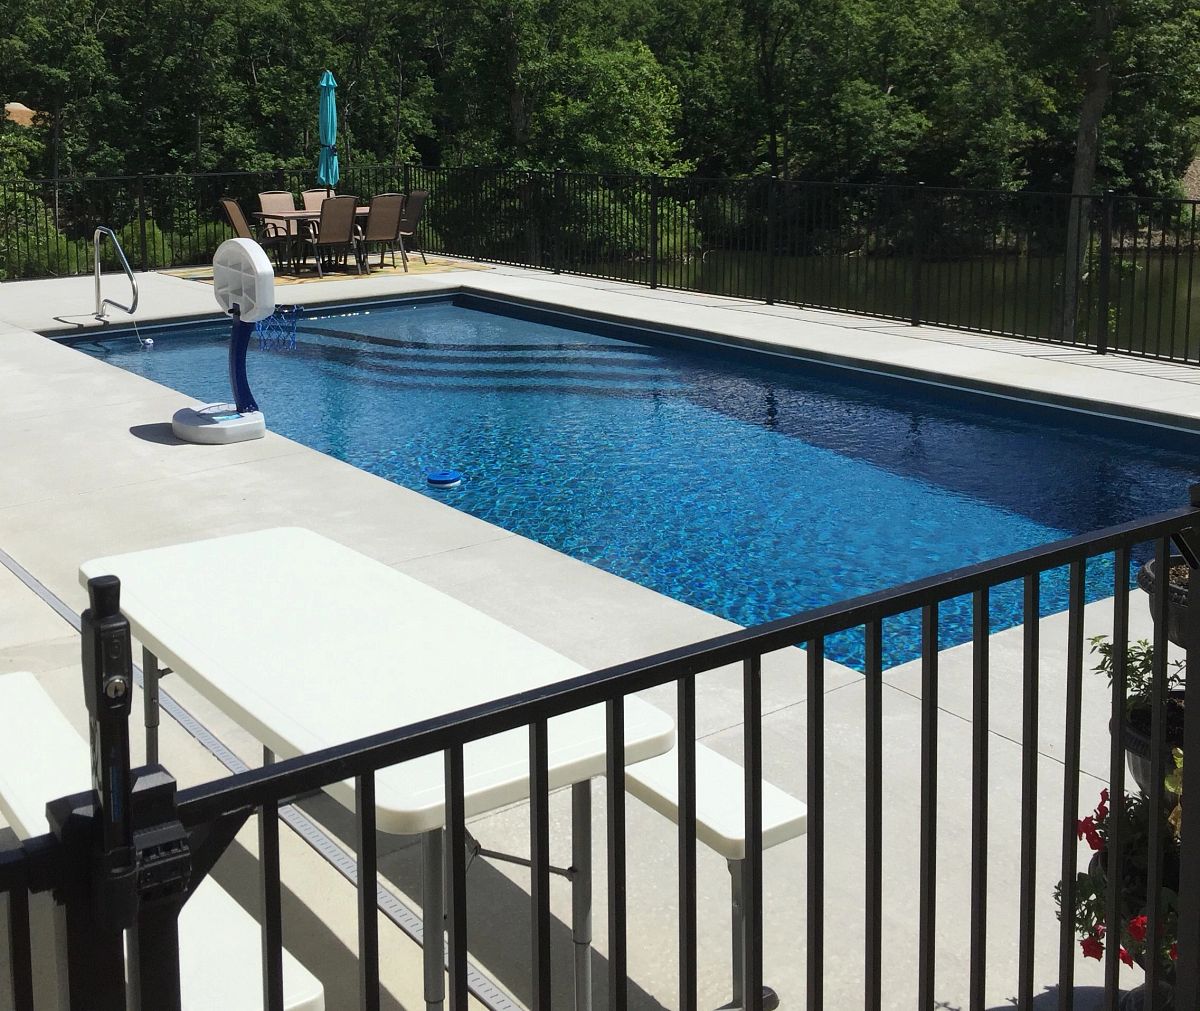
Step 7: Fencing
The last step of fiberglass pool installation is to erect safety fencing around your swimming pool. Not only does fencing give you privacy, but even more importantly, it also protects children (or pets) from wandering into your pool and becoming injured. Fencing must meet specific height and design requirements to comply with safety regulations, such as featuring latches located at least 54 inches above ground level.
What you will see out your window
Fiberglass Pool Installation Guide
You may be wondering now, “How will they get my fiberglass pool in my backyard?” An in-ground pool installation is considered “major construction.” Consequently, if you come away from a conversation with an installer believing that you’ll “hardly know they’re there,” they probably haven’t set your expectations properly.
The truth is, large machinery is required to excavate the spot for your new pool, get it into place, and backfill around it. So, there will be noise, disruption of your landscaping, etc. In the interest of full transparency, here are some aspects of in-ground fiberglass pool installation that you should be aware of:
Heavy equipment access
Excavators, dump trucks, concrete trucks, cranes and other machinery will need access to your yard. This may require the temporary removal of fencing, small trees and shrubs, etc. And, this equipment is heavy, so it will create ruts in your lawn. If access is inhibited, extra costs may apply.
Driveway/sidewalk damage
While your installation team will take great care in navigating in and out of your yard, if they have to take machinery across a driveway or sidewalk, there is the potential for damage.
Bad Weather or Unforeseen Ground Conditions
Poor weather conditions and unforeseen ground conditions, like hitting rock or water issues, can occur anytime during the construction process, creating setbacks. No one can predict the weather accurately or see underground obstacles, so prepare yourself for the possibility that setbacks may occur beyond you or the builder’s control.
Unstable soils requiring a lift
If the soil in the area where your pool will be installed is deemed unstable, it may be required to build it up to create the necessary “lift” to support your pool. This is done by adding layers of compacted stone. While it is very effective, this process is also time-consuming.
Bedrock or shale that must be removed
Digging out soil to place a pool goes fairly quickly. If bedrock or shale is encountered, however, a hydraulic hammer must be brought in to break up the layer so it can be hauled away.
How Long Does it Take to Install a Fiberglass Pool?
The timeline for building a fiberglass pool could be as little as three days after delivery, however, timing may fluctuate depending on factors like weather, the size of your pool, and types of equipment needed to complete the project. Additionally, your timeline can experience a setback if there are unforeseen complications – such as any utility lines running beneath your property or unstable soil. Your builder will be able to help firm up expectations around timing after assessing your backyard and offer up a more accurate timeline. By comparison, an inground gunite pool generally requires around six to eight weeks for construction, while the pool installation time for a vinyl liner pool is typically two to four weeks.
Every installation is different, but the considerations above are the most common.
Tips For Installing a Fiberglass Swimming Pool Your Builder Will Be Aware Of
Here are a few expert guidelines your local builder will have in mind to ensure a quick and efficient installation:
- An in-ground pool is not only a source of great pleasure but also adds value to the house where it’s installed. You will first need to decide on its specifications. Make sure that it suits your exact needs and the space available.
- The second step lies in deciding where the pool should be placed. It is advisable to install it in a place where it receives adequate sun exposure.
- Once you have decided on the place, your builder will line out the preferred area according to the pool’s size. As soon as this is done, builders will excavate the required hole for the pool. Usually, these pools are one level, but if their depth is greater at a particular end, they will need to dig accordingly.
- When it comes to choosing a design, bear in mind that the design matches the surroundings and adds to your home’s aesthetic value.
- If you’re thinking about a tanning ledge consider how and when you will most often use it. Most people prefer to face the pool on a tanning ledge. Make sure the side you choose takes advantage of the peak sun hours.
Fiberglass Pool Installation FAQ
Adding a new fiberglass pool to your backyard can be an exciting event. However, you probably have a few questions about the process. Not to worry! Here are answers to some of the most common questions we hear about fiberglass pool installations.
How Long Do Fiberglass Inground Pools Last?
Fiberglass pools can last for a lifetime if properly maintained. Some fiberglass pools that were installed nearly 50 to 60 years ago are still being enjoyed well into the 21st century! However, it’s important to note that while these durable inground pools can last for decades, their longevity depends on a variety of factors, including regular upkeep, climate, and proper installation.
Can I Install My Own Fiberglass Pool?
The longevity of your fiberglass pool starts with making sure it’s properly installed in the first place. Taking the DIY route towards installing a fiberglass inground pool is not advised. Because it is such a complicated and nuanced process with a variety of logistics and a need for skilled labor – from construction to plumbing to electrical wiring, attempting to install a fiberglass pool on your own can be far more costly than enlisting the aid of professionals.
For starters, it can be challenging to obtain all of the proper permits prior to breaking ground, not to mention the need for heavy equipment involved in digging a hole for your pool and pouring concrete. Experienced professionals will be able to confirm if there are any utilities (such as electrical wires or water and sewage lines) that may be directly above your pool or buried beneath the ground where you plan to install your pool.
Similarly, if your backyard is not level or there are rocks, pipes, or other unforeseen obstacles, it can be risky to attempt a DIY install. A trained fiberglass pool professional will be able to assess the situation and offer up solutions. Improper leveling of the ground prior to installation can impact your pool over time, causing problems that will impact the overall health of your pool. Working with a professional to install your new fiberglass pool is crucial to being able to enjoy it for decades to come.
Ready to Plan Your Dream Fiberglass Pool?
To make a dream come true, you have to have a plan. If you’re ready to plan the pool of your dreams, contact a Latham Independent Builder today. We’ll help you find the right pool to fit your backyard – and your lifestyle – to create a lifetime of happy memories. Need some inspiration? Check out our Plan Your Pool page to explore the endless possibilities


i’m looking to have a pool installed in the spring for next summer.
I will be removing the existing 24 foot round above ground pool and
deck prior to the new pool being installed.
I like the Golf Shore in your 2020 catalog. Can you let me know the cost
and availability for that pool, and estimated total cost for installation with
5-6 feet of concrete walks around the pool.
Thank you,
Hi Dennis – Thank you for reaching out. All Latham pool products, including Gulf Shore, are sold through our independent dealer network. You can Contact a Builder in your area here: https://www.lathampool.com/contact-us/speak-to-a-dealer/
To explore more about what goes into a pool project cost, explore our cost guide: https://www.lathampool.com/plan-your-pool/inground-pool/
Have found a very useful website thank you !!